
Crunch time in the kitchen!
There’s something about the sizzle of olive oil and the scent of smoked paprika that instantly transports me back to lazy Sunday afternoons experimenting with batches of chicken tenders. These aren’t your average fried nuggets; they’re a game-changer—crispy on the outside, juicy on the inside, and guilt-free. I always say, if you can’t make a crunchy chicken tender that sings, why bother?
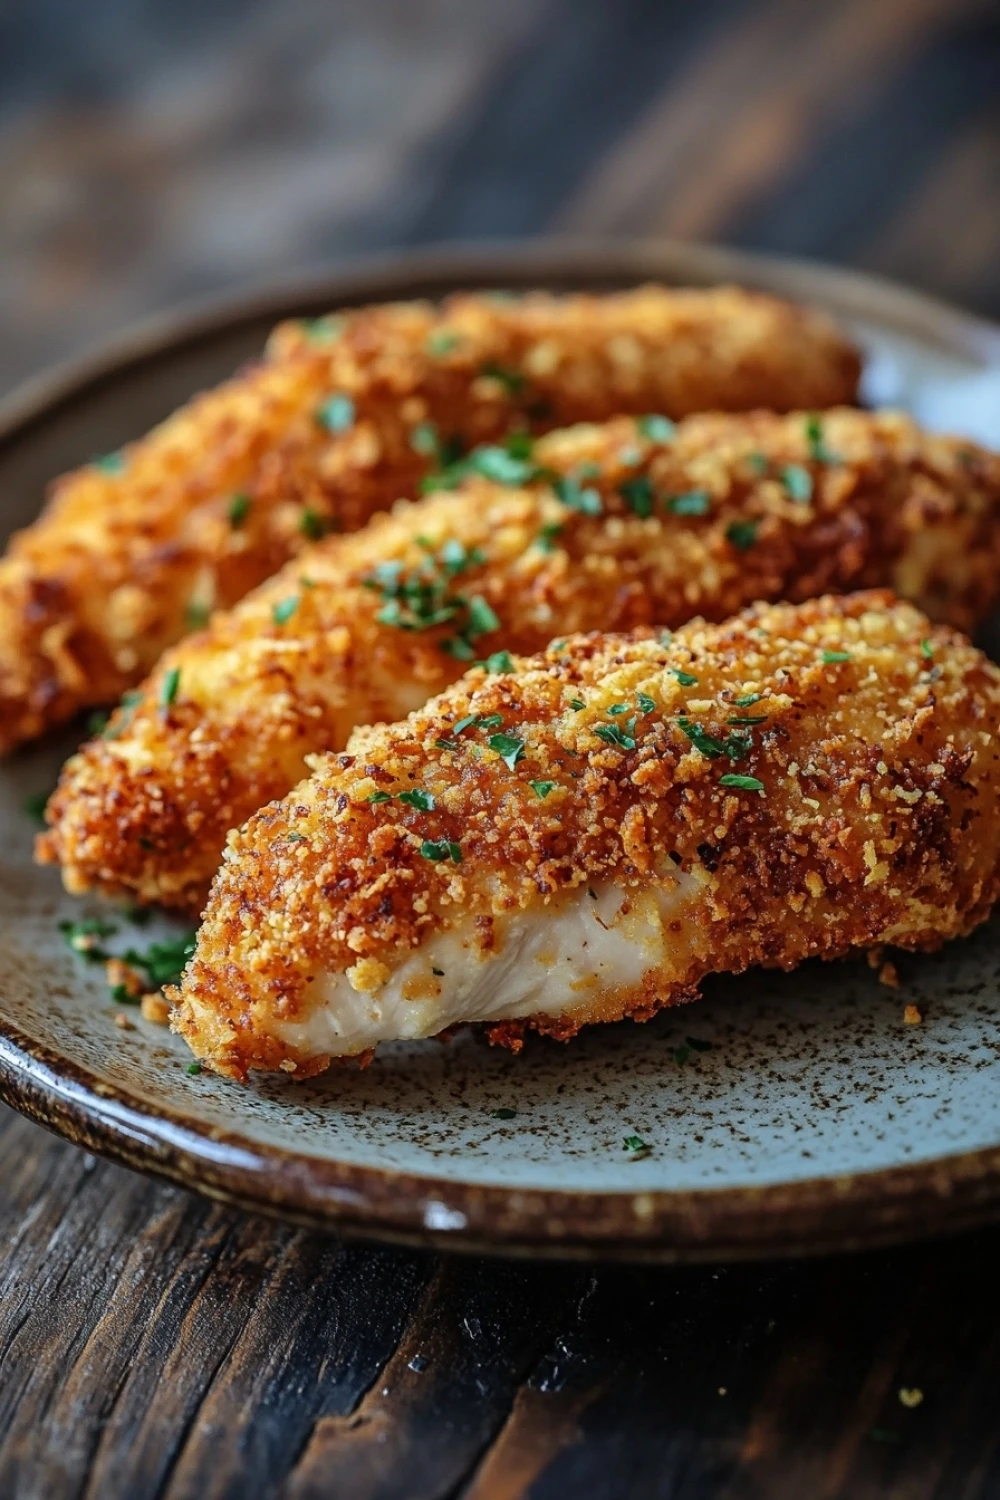
The magic begins with a simple mix of panko breadcrumbs and Parmesan cheese—giving each bite that toothsome snap without drowning it in grease. The gentle kiss of garlic powder and paprika adds a smoky depth that wakes up the taste buds like a well-timed jazz riff. Baking them in the oven means less cleanup and none of that heavy, oily feel that drags a meal down.
These tenders are perfect for a no-fuss dinner when you’re short on time but still want to serve something that feels special. Pop them out of the oven, let them rest just a beat, and watch how quickly the plate clears. Trust me, once you nail this recipe, it’s going to be your go-to hack for quick comfort food—crispy, juicy, and damn satisfying.
For more tasty ideas, check out these 15 delicious chicken breakfast recipes to start your day right featuring chicken breast tenders.
Real Life Perks of Crispy Baked Chicken Breast Tenders
- Quick turnaround: Ready in just 35 minutes—perfect when the clock’s ticking and hangry vibes are rising.
- Healthier crunch: Uses olive oil and baking instead of deep frying, cutting down greasy guilt but keeping that satisfying snap.
- Kid-friendly crowd-pleaser: Kids and picky eaters latch onto these tenders like moths to a flame—easy to eat, easy to love.
- Leftover magic: Store and reheat without losing crispiness; no soggy second acts here.
- Simple pantry staples: No need for fancy ingredients—panko, Parmesan, and spices you likely already have stash tucked away.
Crispy Baked Chicken Breast Tenders
- Total Time: 35 minutes
- Yield: 4 1x
Description
These crispy baked chicken breast tenders are juicy on the inside and perfectly crunchy on the outside. A healthier alternative to fried chicken tenders, they are seasoned with simple spices and baked to golden perfection. Perfect for a quick weeknight dinner or a tasty snack.
Ingredients
1 pound chicken breast tenders
1 cup panko breadcrumbs
1/2 cup grated Parmesan cheese
1 teaspoon garlic powder
1 teaspoon smoked paprika
1/2 teaspoon salt
1/4 teaspoon black pepper
2 large eggs
2 tablespoons water
2 tablespoons olive oil
Instructions
Preheat the oven to 400°F (200°C). Line a baking sheet with parchment paper or lightly grease it with olive oil.
In a shallow bowl, combine the panko breadcrumbs, grated Parmesan cheese, garlic powder, smoked paprika, salt, and black pepper. Mix well.
In another shallow bowl, whisk together the eggs and water until fully combined.
Dip each chicken tender into the egg mixture, allowing any excess to drip off, then coat it thoroughly in the breadcrumb mixture. Place the coated tenders on the prepared baking sheet.
Drizzle the olive oil evenly over the coated chicken tenders to help them crisp up while baking.
Bake in the preheated oven for 18 to 20 minutes, flipping the tenders halfway through, until the chicken is cooked through and the coating is golden brown and crispy.
Remove from the oven and let the chicken tenders rest for 2 minutes before serving.
- Prep Time: 15 minutes
- Cook Time: 20 minutes
Explore more:
Dinner Recipes
Mastering Crispy Baked Chicken Breast Tenders
The Crunch Factor: Why Panko and Parmesan Are Game-Changers
When it comes to getting that perfect crunch without the grease, the choice of coating is everything. I’ve found that plain breadcrumbs? Meh. But panko breadcrumbs? That’s the real MVP. These Japanese-style flakes are larger and airier, which means they crisp up into an irresistible shell rather than a soggy crust. Now, layering in grated Parmesan cheese isn’t just about flavor—it’s the secret weapon that adds a golden, nutty crust that snaps with every bite. The cheese also browns beautifully in the oven, giving you that coveted deep color without overcooking the chicken underneath. Garlic powder and smoked paprika don’t just season the breadcrumbs; they kick the flavor into high gear, turning simple coating into a party on your palate. My pro tip? Mix these ingredients dry first to ensure every bite packs that umami punch—no clumps, just even coverage.
Egg Wash Magic—and Why Olive Oil Drizzle Is Non-Negotiable
Here’s the lowdown on the egg wash: it’s your adhesive agent, but not just any sticky mess. Whisking two eggs with a splash of water thins the mixture just right, ensuring the coating sticks without drowning the chicken. Think of it like a velcro suit for breadcrumbs. Too thick? Clumps will slide off. Too thin? Breadcrumbs won’t cling. Then comes the olive oil drizzle, which I swear by for that golden crunch. You might be tempted to spray, but drizzling allows you to control where that luscious fat lands—you want it evenly spread but not puddled. As the chicken bakes at a high 400°F, the oil helps the coating crisp up like a champ, mimicking the effects of frying without the mess or calories. I always flip halfway through—the flip is clutch—for even cooking and crispiness all around. No one wants one side looking steamed while the other’s a crispy masterpiece.
Rescue Mission: When Tenders Turn Out Soggy or Dry
Let’s face it—sometimes these beauties don’t come out picture-perfect. Soggy crust? Usually a moisture culprit. Maybe the chicken was too wet going in or the breading was too thick and trapped steam. Solution? Pat your tenders dry like you’re sanding a board, then don’t overload on the egg wash. Also, baking on parchment without airflow beneath can cause a steamed bottom, so use a wire rack if you’ve got one—it’s a game changer for air circulation. Dry and tough chicken? That’s a sign of overcooking or uneven thickness. Try pounding your tenders to even thickness before breading to avoid dry edges. If you catch it early, a quick broil (watch like a hawk!) can rescue pale crusts, adding that last bit of color and crunch without drying out the meat. Remember, resting post-bake is key—let juices redistribute or you’ll end up with a dry-as-dust mouthful.
Crispy Baked Chicken Breast Tenders FAQs
Absolutely, but panko is the secret weapon here—it gives you that unbeatable crunch. Regular breadcrumbs will work, but expect a denser texture.
Yes, flipping halfway ensures every side gets that golden crisp. Skipping this step is like missing the boat on perfect crunch.
Yes! These baked tenders cut down on grease and calories compared to fried versions, but still bring serious flavor and crunch. A win-win for weeknight warriors.
For sure. You can bread them and keep them in the fridge for a few hours before baking. Just don’t let them sit too long or the coating might get soggy.
Oven or air fryer at 350°F (175°C) for 5-7 minutes is the way to go. This keeps the tenders crispy—microwaving is a no-go unless you’re okay with a limp bite.