
Ready in a snap.
There’s a sacred calm in the kitchen when bread dough bubbles silently on the counter, no hands needed beyond a quick 5-minute mix. It’s a little bit like setting a slow-burning fuse—except the payoff is a crust that crackles under your fingertips and a crumb that’s light as a cloud. On days when the clock’s against me, this no knead artisan bread feels like a rebel’s triumph over tradition’s long haul.
The mix is shaggy, sticky, a bit messy—just how it should be. No elbow grease required, no flour flying everywhere, just a gentle fold here and there, and then patience. This dough isn’t in a rush, and neither am I. After its long rest, it rises like a champ, ready to hit the oven for its golden transformation.
This is bread-making with the big leagues’ flavor but none of the fuss. You’ll love how this loaf steals the show at breakfast or whispers perfection alongside your dinner plate.
For a deeper dive into perfecting your no knead 5 minute artisan bread, check out our Mastering No Knead Bread Rise in a Dutch Oven: A Simple Guide.
Why This No Knead 5 Minute Artisan Bread Works Wonders in Real Life
- Hands-off magic: Just 5 minutes of prep means you can toss this dough together during your morning coffee without breaking a sweat.
- The slow rise? That’s where the flavor punches in—your dough gets that bubbly personality and airy crumb without any elbow grease.
- Crisp crust that snaps perfectly—no more sad, squishy sandwich bread ruining your lunch vibes.
- Perfect for sandwich builds or just tearing apart alongside your dinner—versatility that keeps your meals interesting without extra hassle.
- Freeze what you don’t eat and pop slices straight into the toaster—the convenience game is strong here, saving you from stale bread blues.
No Knead 5 Minute Artisan Bread
- Total Time: 50 minutes
- Yield: 8 slices 1x
Description
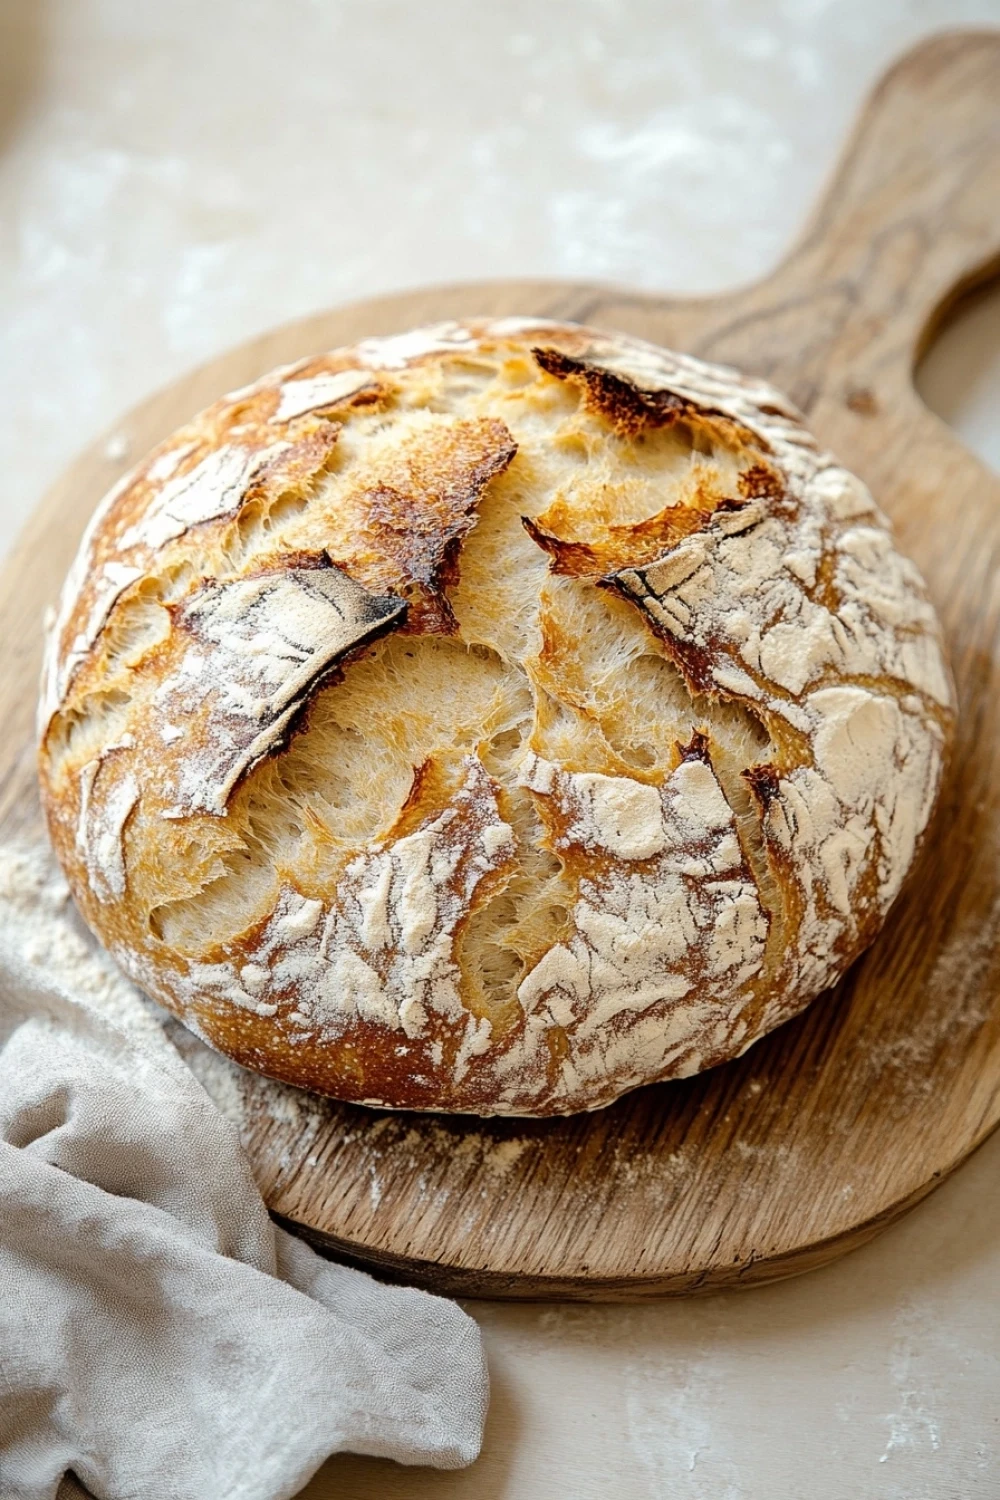
A quick and easy no-knead artisan bread recipe that requires only 5 minutes of hands-on time. This bread has a crisp crust and soft, airy interior, perfect for sandwiches or serving alongside meals.
Ingredients
3 cups (375 grams) all-purpose flour
1 teaspoon (5 grams) salt
1/2 teaspoon (2 grams) instant yeast
1 1/2 cups (360 milliliters) warm water (about 110°F/43°C)
1 tablespoon (15 milliliters) olive oil (for greasing the bowl)
Instructions
In a large mixing bowl, combine the all-purpose flour, salt, and instant yeast. Stir well to distribute the ingredients evenly.
Add the warm water to the dry ingredients and mix with a wooden spoon or spatula until a shaggy, sticky dough forms. Ensure all flour is incorporated but do not overmix.
Lightly grease the inside of the mixing bowl with olive oil to prevent sticking. Cover the bowl tightly with plastic wrap or a clean kitchen towel.
Let the dough rest at room temperature for 12 to 18 hours, or until the surface is dotted with bubbles and the dough has doubled in size.
After the resting period, generously flour a clean work surface and gently turn the dough out onto it. Fold the dough over on itself once or twice to shape it into a rough ball. Do not knead.
Place a large piece of parchment paper on a baking sheet or inside a Dutch oven. Transfer the dough ball onto the parchment paper. Cover with a kitchen towel and let it rest for 30 minutes to 1 hour, until it has risen slightly.
About 30 minutes before baking, preheat your oven to 450°F (230°C). If using a Dutch oven, place it inside the oven to preheat as well.
Carefully remove the preheated Dutch oven from the oven. Using the parchment paper, lift the dough and place it inside the Dutch oven. Cover with the lid.
Bake the bread covered for 30 minutes. Then remove the lid and bake for an additional 15 minutes, or until the crust is deep golden brown and crisp.
Remove the bread from the oven and transfer it to a wire rack. Let it cool completely before slicing.
- Prep Time: 5 minutes
- Cook Time: 45 minutes
Explore more:
Breakfast Recipes
Mastering No-Knead 5 Minute Artisan Bread
The Why Behind the No-Knead Magic
Here’s the scoop: the long fermentation time is the bread’s best friend. You toss together flour, salt, yeast, and water, then walk away for 12 to 18 hours—yeah, seriously, you do nothing but wait. This slow rise lets gluten develop naturally, no elbow grease required. The bubbles you see? That’s your dough getting its act together, creating that airy crumb everyone raves about.
Instant yeast is the MVP here—no need for that fiddly active yeast activation dance. Just mix it in dry, and warm water wakes it up gently. The olive oil greasing? Not a flavor thing, but a slick move to keep dough from sticking to the bowl during its beauty sleep.
Swapping Ingredients Without Sabotage
Want to mix things up? Go ahead, but tread carefully—artisan bread is a diva when it comes to ingredient swaps.
– Whole wheat flour? It’s a bold move. Swap up to 50% but expect a denser crumb and nuttier flavor. Your dough might need a tad more water; whole wheat drinks it up like a sponge.
– Salt: Don’t skimp here. It controls yeast behavior and flavors the crust. Cutting back? Your bread may turn out bland and overproofed—trust me, I’ve been there.
– Yeast types: Instant yeast is king in this recipe, but active dry yeast can shuffle in if you dissolve it first in warm water and let it proof. Skip this, and the yeast might nap instead of working.
– Oils or fats: The recipe’s olive oil is for greasing only—not in the dough. Throwing fats into the mix changes texture and crust. If you want a softer crumb, try a tiny bit of butter, but that’s a different beast.
When Your Dough Goes Rogue: Troubleshooting 101
Sometimes, the dough doesn’t cooperate. It could be too sticky, too firm, or just flat-out lifeless. Don’t panic.
Sticky mess? Flour your hands and work surface, but don’t add flour to the dough—that’s a rookie mistake that kills the airy texture. Instead, embrace the stickiness; it’s a sign of good hydration.
Dough not rising? Check the water temperature. Too hot, and you killed the yeast; too cold, and the yeast naps on the job. Aim for that cozy 110°F (43°C). Also, check your yeast’s age—expired yeast? Dead weight.
If your crust comes out pale or dull, your oven might be underperforming. Crank that heat or try preheating a heavy pot or Dutch oven inside; that radiant heat creates the crust you want.
Finally, patience is your pal. Shortening the rest time cuts flavor and texture short—resist the urge to rush.
No Knead 5 Minute Artisan Bread FAQ
- Can I use bread flour instead of all-purpose?
- Yes, you can swap it in. Bread flour has more protein, so you’ll get a chewier texture and a better rise, but the timing stays the same.
- Do I really need to wait 12-18 hours?
- Absolutely. This long rest lets the yeast do its slow magic, creating those signature bubbles and developing flavor. Patience is key here; rushing it means dense bread.
- What if I don’t have a Dutch oven?
- No worries. Use a heavy oven-safe pot with a lid or a deep baking dish covered with foil. The goal is to trap steam so the crust crisps up nicely.
- Can I shorten the resting time?
- Short answer: No. The dough needs that long ferment to develop flavor and texture. Skipping or cutting it short will compromise the bread’s crumb and crust.
- How do I keep the crust crispy longer?
- Once cooled, store it in a paper bag or loosely wrapped in a kitchen towel. Plastic or airtight containers trap moisture and soften the crust fast.