
Ready for some bread magic?
There’s something truly satisfying about watching a simple mixture transform overnight into a bubbly, tangy dough that practically begs to be baked. I remember the first time I tried this no knead sourdough bread loaf pan recipe—I was skeptical, honestly. No kneading? No fuss? It felt like cheating the time-tested grind of bread making. But the slow rise, the gentle folding of the dough into the loaf pan, and that tantalizing aroma wafting through my kitchen soon had me hooked.
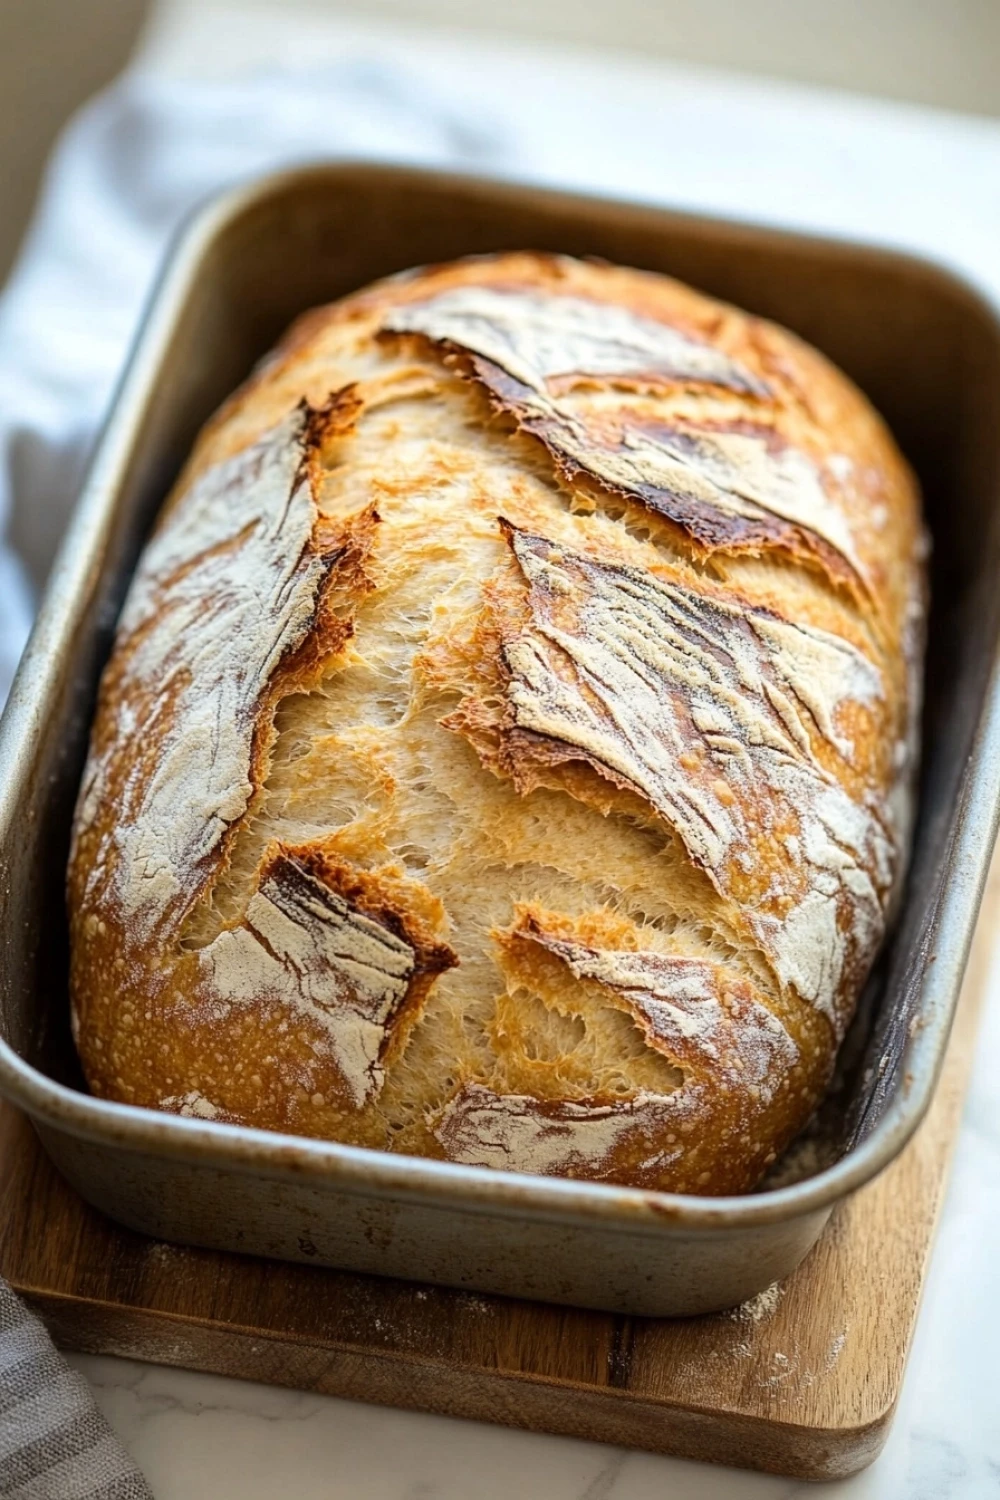
The beauty lies in its laid-back approach. You mix, you wait, and nature does the rest. The crust gets that perfect crackle while the inside stays moist and chewy, making it a staple for anyone who wants homemade bread without the elbow grease. Bonus? The loaf pan keeps the shape neat—ideal for thick sandwiches or morning toast slathered in butter.
Forget the bread machine. This recipe is as down-to-earth as it gets, embracing the rustic charm of sourdough with zero stress. Let’s get your kitchen smelling like a neighborhood bakery.
If you’re interested in easy recipes, check out our Kefir Bread with Yeast: Soft, Tangy Loaf for Perfect Sandwiches for a delicious no knead sourdough bread loaf pan option.
Why This No Knead Sourdough Loaf Is a Game-Changer for Home Bakers
- Zero kneading hassle—just mix and forget it overnight. Perfect for those nights when you’d rather crash than work the dough.
- The tangy sourdough flavor develops naturally with minimal effort, giving your bread that signature punch without a sourdough starter headache.
- Baked in a loaf pan, it keeps its shape—no rogue blobs or flat discs here. Ideal for neat sandwich slices that don’t crumble under pressure.
- Hands-off proofing means you can prep before bed and wake up to dough ready to bake. Talk about passive bread magic.
- Lasts multiple days at room temp thanks to natural fermentation, plus simple freezing options for long-term stash. No more sad stale bread blues.
No Knead Sourdough Bread Loaf Pan
- Total Time: 12 hours 5 minutes
- Yield: 8 slices 1x
Description
This no knead sourdough bread recipe produces a deliciously tangy, crusty loaf baked in a loaf pan. It requires minimal effort and no kneading, perfect for beginner bakers or anyone looking for an easy homemade sourdough bread.
Ingredients
1 cup (240 grams) active sourdough starter, fed and bubbly
1 1/2 cups (360 ml) warm water, around 75°F (24°C)
4 cups (480 grams) all-purpose flour
2 teaspoons (12 grams) salt
1 tablespoon (15 ml) olive oil, for greasing the loaf pan
Instructions
In a large mixing bowl, combine the active sourdough starter and warm water. Stir gently to mix.
Add the all-purpose flour and salt to the bowl. Mix with a wooden spoon or spatula until a shaggy, sticky dough forms and all flour is incorporated.
Cover the bowl with plastic wrap or a clean kitchen towel. Let the dough rest at room temperature for 12 hours, or overnight, until it has doubled in size and is bubbly.
After the dough has risen, lightly oil a standard 9×5 inch loaf pan with olive oil.
Using a spatula or wet hands, gently transfer the dough into the prepared loaf pan, spreading it evenly but without deflating it too much.
Cover the loaf pan loosely with plastic wrap or a kitchen towel and let it proof at room temperature for 1 to 2 hours, until it has risen about 1 inch above the rim of the pan.
Preheat your oven to 450°F (230°C) with a rack in the middle position.
Once preheated, place the loaf pan in the oven and bake for 40 to 50 minutes, until the crust is deep golden brown and the internal temperature of the bread reaches 205°F (96°C).
Remove the bread from the oven and carefully transfer it from the pan to a wire rack. Let it cool completely, about 1 to 2 hours, before slicing.
- Prep Time: 15 minutes
- Cook Time: 50 minutes
Explore more:
Breakfast Recipes
No Knead Sourdough Bread Loaf Pan
The Secret to That Golden Crust
Baking this no knead sourdough in a loaf pan brings a twist to the usual rustic round boule—yet that crust can still turn heads. Here’s the lowdown: the secret lies in the heat and moisture balance inside your oven. Preheating to a scorching 450°F with the loaf pan centered ensures a fierce initial blast of heat. This jumpstarts the Maillard reaction, the fancy name for the browning magic that gives you that deep golden crust with a crackly snap. Don’t skip the full 40 to 50 minutes baking time even if your loaf looks done early; underbaking here is a rookie move that’ll leave you with gummy crumb, the bane of many sourdough bakers. And yes, letting the bread cool completely is non-negotiable—it sets the crumb and crisps the crust further. Patience is your secret weapon.
Ingredient Swaps That Won’t Tank Your Loaf
All-purpose flour is the star of this show, but hey, sometimes pantry raids mean substitutions. Thinking of swapping in bread flour? Great call—it’ll pump up gluten strength for a chewier bite, but watch the hydration; you might need slightly more water since bread flour drinks more. Want to go whole wheat? That’s a bold move and ups the flavor game, but heads up—whole wheat flour soaks up liquid faster and can weigh down your dough. To keep the loaf airy, bump up water by a tablespoon or two and extend the bulk fermentation by an hour. And if you’re sourdough starter shy, combining poolish or a tiny pinch of commercial yeast with a sourdough discard can jumpstart the rise without losing tang.
Fixing the Usual Suspects: Why Your Loaf Might Be Dense or Flat
Nothing worse than pulling out a loaf that looks more brick than bread. First, let’s address over-proofing—when your dough chills too long or proof times stretch, it collapses, leading to a flat-as-a-pancake loaf. Conversely, under-proofing keeps the yeast from doing its full magic, resulting in a dense, heavy crumb. The dough’s ‘feel’ after the 12-hour rest and the 1–2 hour proof is your compass—bubbly, puffy, and holding shape but not sagging like a sad pancake. Ambient temperature plays a sneaky role here—if your kitchen’s cold, your dough’s slow; if it’s hot, it’s fast. Adjust proof times accordingly, and keep your dough covered but not suffocated—plastic wrap can trap condensation, turning your crust gummy. A loose kitchen towel often wins here. And a quick tip—wet your hands before handling dough; it stops sticking and prevents you from smushing out precious bubbles. Keep these in your baker’s toolkit, and you’ll dodge the usual loaf fails with swagger.
No Knead Sourdough Bread Loaf Pan FAQ
A: Nope! This recipe skips kneading completely. That long rest time lets gluten develop on its own—no arm workout required.
A: Yes, but expect a denser crumb and a slightly nuttier flavor. You can swap up to half the all-purpose with whole wheat to keep things light yet hearty.
A: Look for a deep golden brown crust and an internal temperature hitting about 205°F (96°C). If you don’t have a thermometer, tap the loaf bottom—it should sound hollow, like knocking on a door.
A: Technically, yes, but you’ll trade flavor and texture. Rushing fermentation means less tang and a less open crumb. I say, patience is a baker’s best friend here.
A: Yes! This no knead sourdough loaf is tailor-made for starters. Minimal fuss, maximum reward.