
Sometimes, a cookie is more than just a cookie. When I first tried making these shortbread cookie labels, I was halfway through icing one when my phone rang. I left the kitchen for a minute, and when I came back, the edge of the cookie had softened just a bit from the warmth in the room. It wasn’t perfect, no, but it reminded me that homemade treats don’t have to be flawless to be special. The buttery scent filled the air and the delicate crispness gave way to a tender crumb that almost melted with each bite. These cookies carry that kind of imperfect charm—simple, inviting, and ready for a little personal touch.
Decorating them feels like a small celebration in itself. You can get as creative or as quick as you want, whether you’re adding a splash of color or leaving them elegantly simple. They invite you to slow down and enjoy the process, even if your hands get a little messy or your icing isn’t quite as neat as you hoped.
Why You’ll Love It:
- They’re crisp and tender with a buttery richness that feels like a warm hug.
- Customizable icing makes every batch unique—though sometimes less is more if you’re in a rush.
- Perfect as gift tags or festive treats, adding a thoughtful twist to celebrations.
- Simple to prepare but not boring—these cookies wear their simplicity proudly.
- They might not store forever once decorated, but that’s a good excuse to share (or eat) them quickly.
It’s okay if your icing isn’t perfectly smooth or if one cookie ends up a little thicker—those quirks are part of the fun.
Print
Shortbread Cookie Labels
- Total Time: 35 minutes
- Yield: 24 cookies 1x
Description
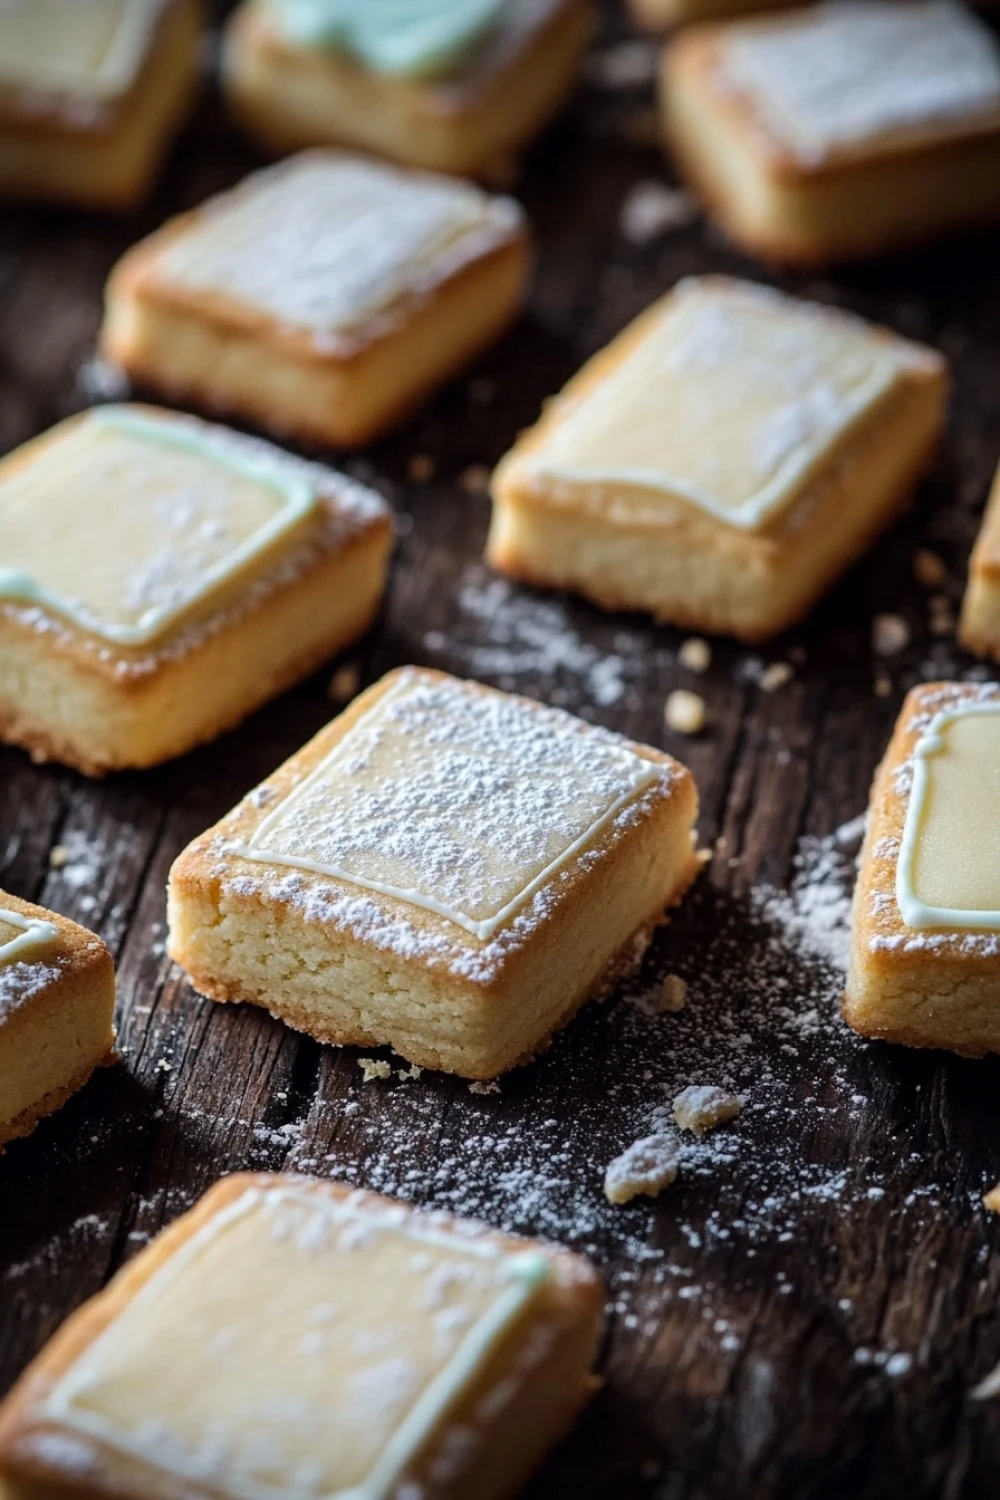
Delightful shortbread cookies shaped and decorated as labels, perfect for gift tags or festive treats. These buttery cookies are crisp, tender, and easy to customize with your favorite icing or decorations.
Ingredients
2 cups all-purpose flour
1/2 cup granulated sugar
1 cup unsalted butter, softened
1/4 teaspoon salt
1 teaspoon vanilla extract
1 large egg yolk
1/2 cup powdered sugar, for dusting or icing
2 tablespoons milk, for icing
Food coloring (optional, for icing decoration)
Instructions
Preheat the oven to 350°F (175°C). Line two baking sheets with parchment paper.
In a large bowl, cream together the softened unsalted butter and granulated sugar until light and fluffy, about 3-4 minutes.
Add the egg yolk and vanilla extract to the butter mixture and beat until combined.
In a separate bowl, whisk together the all-purpose flour and salt.
Gradually add the flour mixture to the wet ingredients, mixing until a soft dough forms. Do not overmix.
Turn the dough out onto a lightly floured surface and roll it out to about 1/4 inch thickness.
Use label-shaped cookie cutters or a knife to cut out label shapes from the dough.
Place the cut cookies onto the prepared baking sheets, spacing them about 1 inch apart.
Bake in the preheated oven for 12-15 minutes, or until the edges are lightly golden.
Remove the cookies from the oven and let them cool on the baking sheets for 5 minutes before transferring to a wire rack to cool completely.
For icing, mix the powdered sugar with milk until smooth. Add food coloring if desired.
Decorate the cooled cookies with the icing using a piping bag or spoon. Allow the icing to set before handling or packaging.
- Prep Time: 20 minutes
- Cook Time: 15 minutes
Kitchen Notes: You don’t need any fancy tools here, just a rolling pin and something to cut out the shapes. If you don’t have label-shaped cutters, a small knife does the trick, though your shapes might be a bit uneven—which, honestly, makes them feel more homemade. I usually pair these cookies with tea or a light coffee, especially when the icing is subtly sweet. If you want to mix things up, try swapping vanilla for almond extract or adding a pinch of cinnamon to the dough. Sometimes I dust them with powdered sugar instead of icing, especially when I’m short on time. And if you’re feeling really adventurous, a little drizzle of melted chocolate can work wonders, though that’s not something I’ve tested a lot.
FAQ
Can I make the dough ahead of time? Yes, chilling the dough for a few hours or overnight can help with rolling and cutting, but it’s not absolutely necessary.
How long do decorated cookies last? Once the icing is dry, they keep for about a week in an airtight container, but they’re best enjoyed fresh.
Can I freeze these cookies? The plain cookies freeze well, but decorated ones might lose their icing texture. It’s better to freeze before decorating.
Bring a little sweetness and charm to your kitchen with these shortbread cookie labels—they’re a small project with a big heart. Scroll down, save this recipe, and why not bake a batch for your next thoughtful gift or cozy afternoon?